The best starcraft remastered networking guide
Lately I have become more interested in playing and watching Starcraft Remastered. Since I was 6 years old I have been playing and figuring out the networking of online games. Command and Conquer: Tiberian Sun and Red Alert were two staples back in the day – over 20 years later I’m still playing games from the 90s.
Recently, I booted up Starcraft Remastered after a year or two hiatus, but to my surprise I was faced with this:
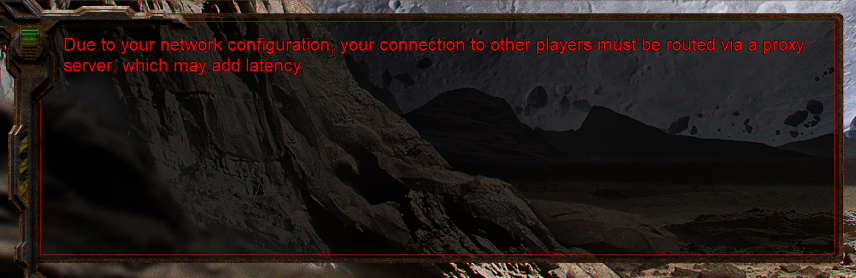
If you have played many online video games, you are probably familiar with similar messages. Usually, fixing these networking issues is quickly solved by adding a port forward to your home router. This time it wasn’t so easy, so I wanted to share all of the steps I took to fix my networking in Starcraft Remastered.
Quick and dirty
These steps should contain the minimum amount of information to fix your Starcraft networking. Do you think I am missing a step? Email me and I will add it to the guide. After each step, try restarting Starcraft and creating a game lobby to see if your networking issues are fixed.
1.) Just try creating a game first
Before screwing with anything: try booting up the game, connecting to a multiplayer server, and then hosting a game. If you don’t get the proxy server message, you are good to go! Go play Starcraft instead of reading this guide!
2.) Port forward ports 6112-6119
If you have done much gaming online, this is probably standard procedure.
To get the networking information you need:
- Press Windows+R
- Type
cmdinto the run prompt, and then press Enter - Type
ipconfiginto the command prompt

Find the IP address of the Default Gateway (192.168.1.1 in my case) and put that IP address into your web browser. Hopefully you will reach the admin page of your network router.
Go ahead and log into your router (if you don’t know the username and password it will usually be written physically on your router) and look for a page like “Port Forwarding”, “NAT”, or “Firewall”. Go ahead and add a new port forwarding rule with the following information:
- port range: 6112-6119
- protocol: UDP
- to port: 6112-6119
- to IP Address:
IPv4 Addressfromipconfig - name: starcraft remastered
Here is how it looks in PfSense (notice I have a rule for minecraft as well):

3.) Reset windows firewall
- Press Windows+R
- Type
Firewall.cplinto the run prompt, and then press Enter - Click
Restore Defaultsfrom the menu on the left - Click the button to
Restore Defaults - Click
Yesto confirm the prompt
Boot up Starcraft and a Firewall prompt should pop up. Allow Starcraft through the firewall on both public and private networks.
4.) Outbound NAT / port preservation
Some routers will change the source port of outgoing UDP packets as part of the outbound NAT traversal. Notably, PfSense does this. Starcraft does not work when outbound UDP packets have their source port changed so a static port mapping must be added to the router. Look for “outbound NAT”, “port assignment”, “source port”, or similar in your router config. Different routers will have different layouts for performing this action so try your best to follow this example:

5.) Carrier grade NAT
In your router, try to find your “WAN IP Address” and write it down; this should be the public IP address of your router. Next type what is my ip into a google search. If the IP address returned by the google search is different than your “WAN IP Address” you are most likely behind carrier grade NAT. If you are behind carrier grade NAT you will need to contact your ISP to figure out how to get Starcraft working on their network.
6.) Double Check
If you got to here and you are still stuck, go for a walk or do something else for a while. When you have a fresh mind, carefully re-read these steps and try again. If you are still stuck maybe it is a sign from god that you are destined to do something else with your life – maybe take up stamp collecting?
Technical Details
In a later post I will cover some technical details of Starcraft networking. This guide is already long enough, so I will save the technical stuff for another day.